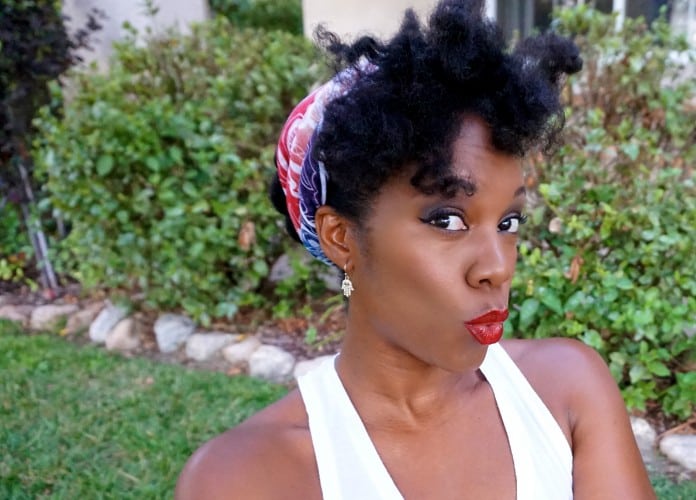
Have you ever looked at stars or runway models and wondered about their makeup? Or maybe you’ve seen a celebrity up close and wondered how they got their makeup so freaking perfect? I used to think it had something to do with the quality of makeup…like more expensive formulas gave that look. I mean, it’s just a little foundation, eye shading and lipstick…how come results at home aren’t the same?
Simple answer: makeup is about light and shadow. Light areas in the face move forward, shadows retract it. Keep that in mind as this article progresses, okay lovelies?
Contouring

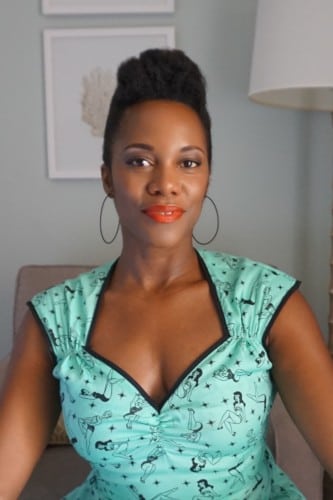
Take a look at my face in the above picture. Try to identify where the light brings out my bone structure and how the shadows contribute to the shape of my face. Since I’m not a makeup artist and don’t have a lot of time to go full on with the technique, my favorite way to apply is with a contour stick. My recommendations:
PERFECT FACE BY Ashunta Sherrif ($50 for stick with brush included) This was created by black female makeup artist so I want to through my support behind it, plus it’s a really great, higher end product that she uses on her star clients. Did I mention she does all Taraji Henson’s promo photos for “Empire?” Yep…using this stick. I use the DARK. Click here for more info.
NYX Wonder Stick ($12; DEEP) This is a great everyday contour stick at an amazing price point. I have it in my bag when I travel and goes on really smooth and precise. Because of it’s size, it’s a bit better to highlight and contour smaller areas of the face, like around the nose and under eye area.
If you want to see a REAL professional slay with the contouring, check out this gorgeous You Tuber. I just subbed to her and her tutorials are so fun and educational. Love her!
Highlighting lip area before color application
I’ve always wondered how make up models and celebrities got such a perfect edge on their lips and how the color and shape would pop out of the face like a present.
Turns out they probably start out looking like this…

Hahahaha I know I look ridiculous and am exaggerating a bit, but what you see me doing in the photo about is NOT dipping my face in flour, but concealing all the natural shadows and shades on and around my lips so that my lips have a clean palette to let the beauty of the pigment have the entire stage. I then apply the lip color and then go in and edge around the upper and lower lip with a cream concealer closer to my own skin color, but a shade or two lighter.
Here’s what happens…


Eyebrow edging with a flat brush
I picked this up while watching at my oldest daughter get ready for school. She has the most gorgeous eyes and eyebrows, and I love how she accentuates them. I noticed that after she filled in her brows with a brow powder and angled brush, she cleaned up the bottom and top edges with concealer with a flat brush. I’m using MAC PAINT POT ($22) in Camel Coat (also used it to eliminate shadows in the lip area in the photo above) and the FLAT DEFINER BRUSH in 212 ($25)

